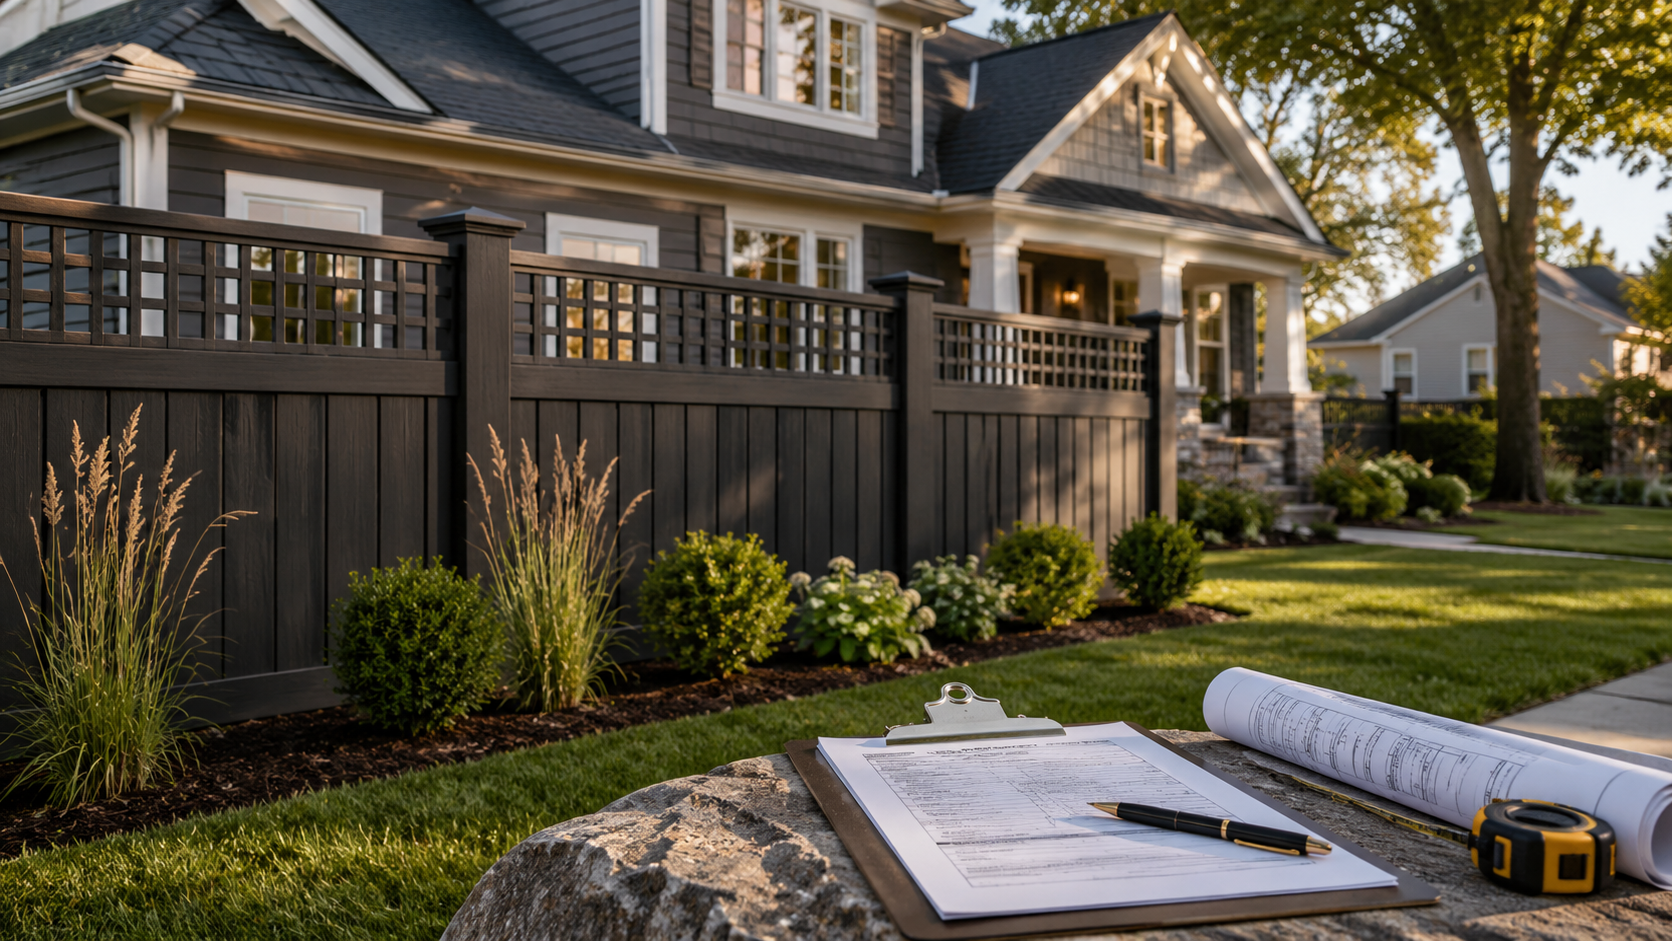
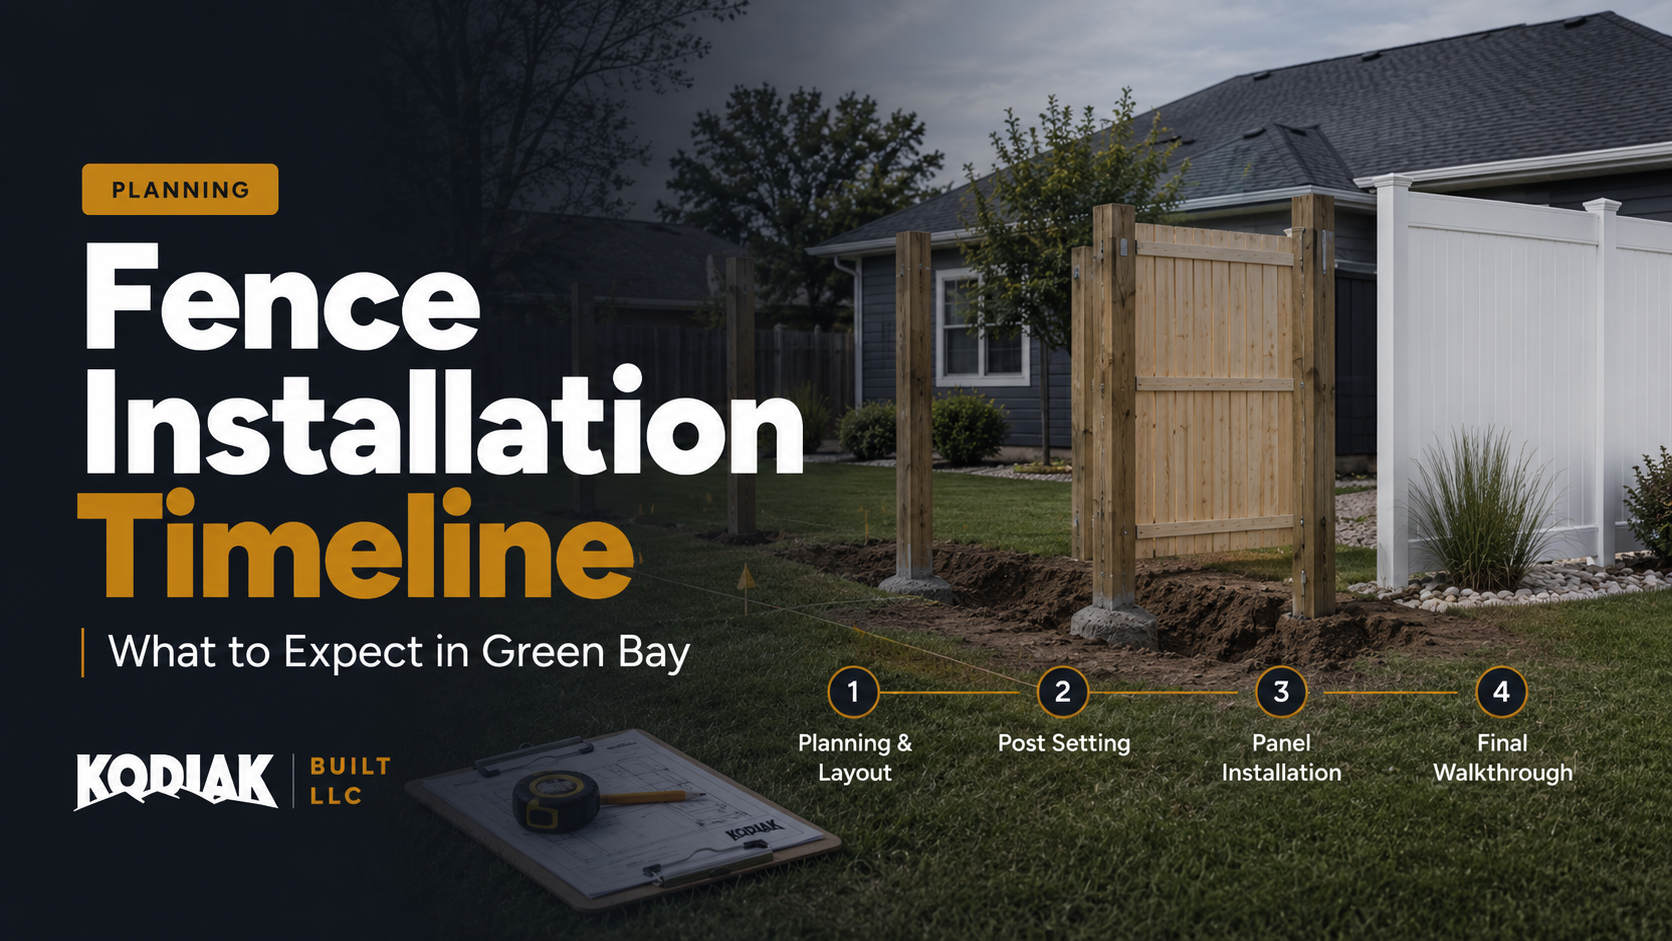
A fence installation is not just one day of digging. A smooth project starts with planning, layout, material selection, approvals, utility locates, and scheduling.
Knowing the process helps homeowners avoid surprises.
Step 1: Estimate request
The process starts with basic information:
- ✓Property address.
- ✓Desired fence material.
- ✓Approximate length.
- ✓Height.
- ✓Gate needs.
- ✓Photos of the yard.
- ✓Old fence removal.
- ✓Timeline goals.
The clearer the information, the better the estimate.
Step 2: Site visit or virtual review
Some projects can be roughly estimated from photos, maps, and homeowner measurements. Others need an in-person review, especially if the yard is sloped, tight, wooded, or unusual.
During review, the contractor looks at access, grade, obstacles, gates, corners, utilities, and layout.
Step 3: Material selection
Choose material based on your goals:
- ✓Vinyl for low-maintenance privacy.
- ✓Wood for natural privacy and custom style.
- ✓Chain link for function and budget.
- ✓Aluminum for decorative boundaries and open views.
Material choice affects price, timeline, maintenance, and appearance.
Step 4: Layout confirmation
Before anything is ordered or dug, the fence line needs to be clear. This may involve:
- ✓Checking property lines.
- ✓Reviewing survey documents.
- ✓Talking to neighbors.
- ✓Marking gate locations.
- ✓Confirming setbacks or easements.
- ✓Adjusting for trees or landscaping.
A clear layout prevents rework.
Step 5: Permits and approvals
Depending on location, a fence permit or HOA approval may be required. Green Bay and nearby municipalities can have different rules.
If you live in an HOA, do not skip the approval process. HOA rules may be stricter than municipal rules.
Step 6: Utility locates
Before digging, utilities should be marked through Diggers Hotline / 811. This step protects underground utilities and helps avoid dangerous or expensive damage.
Remember: public utility locates may not include private lines such as sprinklers, invisible dog fences, private electric, or drainage lines.
Step 7: Material ordering and scheduling
Once the project is approved, materials can be ordered and the installation window can be scheduled. Timing depends on material availability, weather, permit approval, crew schedule, and site readiness.
Step 8: Old fence removal, if needed
If an old fence exists, it may need to be removed before layout and installation. Removal can be quick or time-consuming depending on post depth, concrete, vegetation, and access.
Step 9: Post installation
Posts are the foundation of the fence. This step includes digging or setting posts, aligning the fence line, handling corners and gates, and allowing proper setup when needed.
This is where quality matters most.
Step 10: Panels, rails, fabric, or boards
After posts are set, the rest of the fence system is installed. This may include panels, rails, boards, chain link fabric, tension wire, caps, or decorative components.
Step 11: Gates and hardware
Gates are installed and adjusted. Hinges, latches, gaps, and swing direction are checked. A good gate should open and close cleanly.
Step 12: Cleanup and walkthrough
The final step is cleanup and review. A good contractor should leave the property clean, explain any care instructions, and review the completed fence with the homeowner.
What can delay a fence project?
Common delays include:
- ✓Weather.
- ✓Permit timing.
- ✓HOA approval.
- ✓Utility locate timing.
- ✓Material delays.
- ✓Unclear property lines.
- ✓Hidden obstacles.
- ✓Wet soil.
- ✓Changes to layout.
Many delays can be reduced with early planning.
Bottom line
A fence project is smoother when the steps are clear. Estimate, layout, permits, locates, materials, installation, gates, and cleanup all matter.
Kodiak Built helps homeowners understand the process before work begins, so the finished fence is built right and the experience is straightforward.
Quick answers
What steps happen before fence installation begins?
A typical Green Bay fence project moves through an estimate, a site visit or photo review, material selection, layout confirmation, permits or HOA approval, utility locates through Diggers Hotline, and material ordering and scheduling. Old fence removal, if needed, happens before the new posts go in.
What can delay a fence installation?
Common delays include weather, permit timing, HOA approval, utility locate timing, material delays, unclear property lines, hidden obstacles, wet soil, and layout changes. Many of them can be reduced with early planning.
Do I need an in-person site visit for a fence estimate?
Not always. Some projects can be roughly estimated from photos, maps, and homeowner measurements, while sloped, tight, wooded, or unusual yards need an in-person review of access, grade, obstacles, gates, corners, and layout.