The snow quits, the yard reappears, and somewhere in that first decent weekend your fence is owed fifteen minutes. Not a project — a walk. Nearly every big fence repair we do in summer announced itself quietly in April, back when it was still a small fix.
Why after the thaw? Because winter damage hides until the ground lets go. Frost holds heaved posts in place like a vise; the thaw releases them, the soil settles, and the fence finally shows its actual condition. Inspect in February and the fence lies to you. Inspect after the ground softens and you're looking at the truth.
Here's the checkup, in the order we'd do it ourselves.
1. Sight down the line
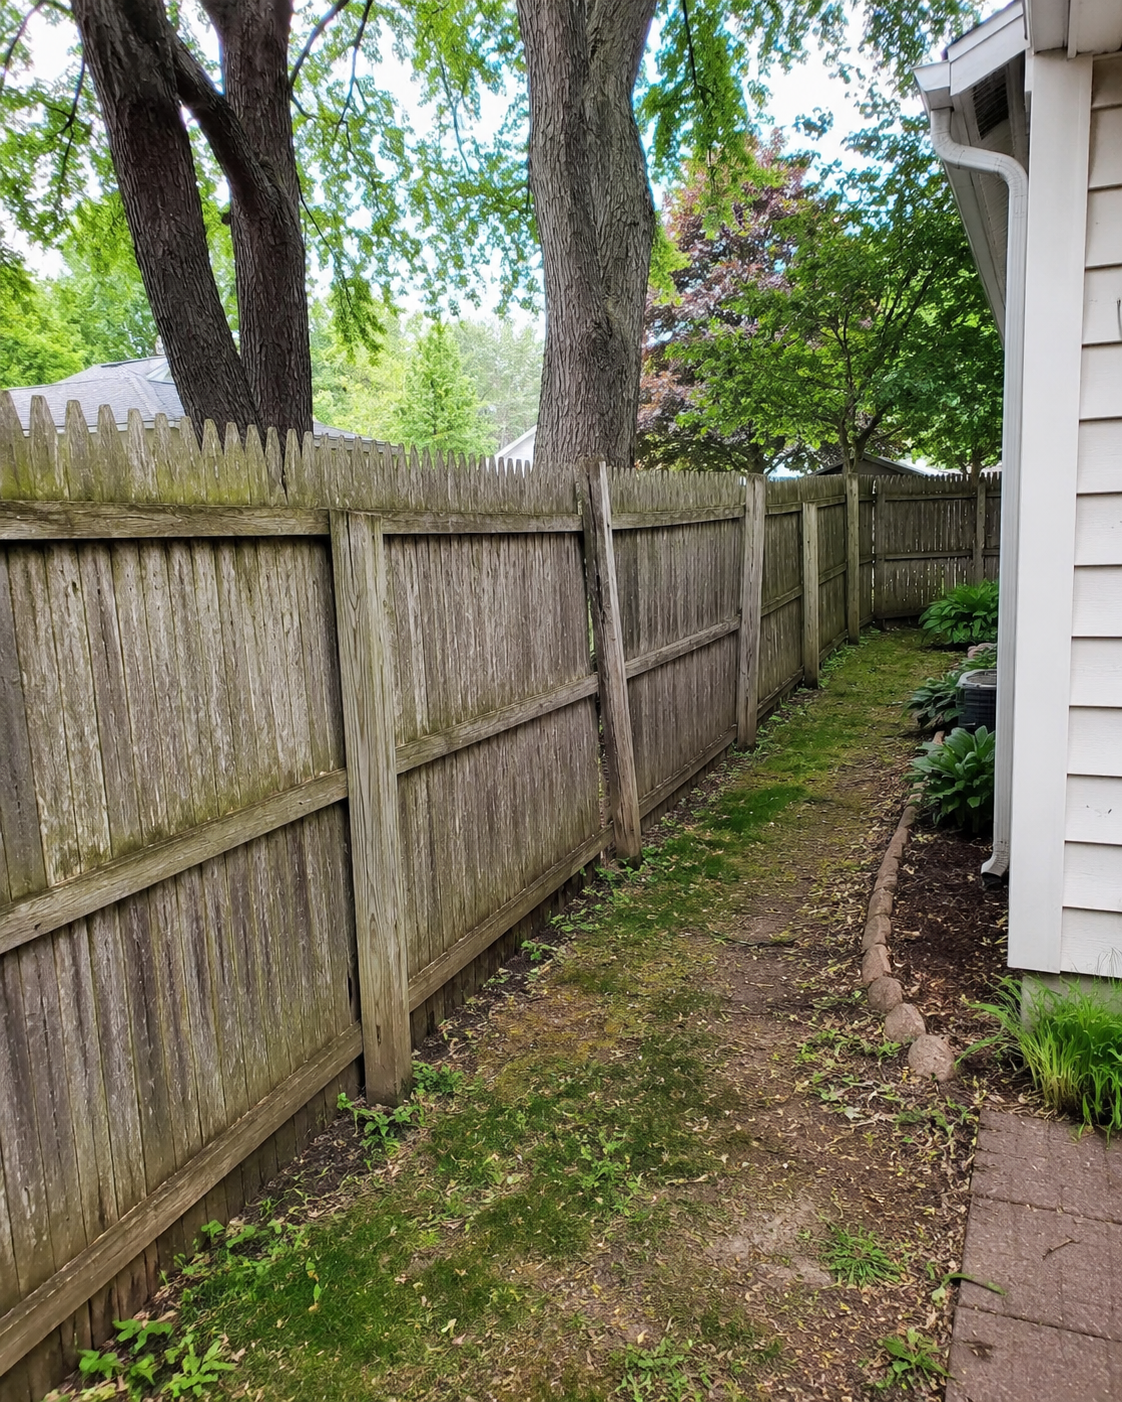
Stand at a corner post and look down the run like you're aiming it. A straight line of posts stacks up neatly behind the first one; a post that drifted out of plumb over winter jumps out immediately from this angle even when it looks fine head-on. A new lean usually means frost heave got a grip on that footing.
One nuance: a slight lean right after thaw isn't always final. Soil that's still draining can let a post settle back toward plumb over a few weeks. Note it, date it, and check again in a month — a lean that's stable or growing is the one that needs work.
2. Push-test the posts
Give each post a firm shove at shoulder height. Solid is solid — you'll feel it. Movement at the ground line means the footing loosened or, on wood posts, that rot is working at grade. One loose post is a repair; several in a row is a conversation about the whole line. Do the test even on posts that look perfect — lean is the last symptom, not the first, and a footing loosens invisibly before the post ever tilts.
3. Swing every gate
Gates are the canary. Open each one, let it swing, and latch it — then do it again from a different angle. Dragging, rubbing, or a latch that needs a hip check means the gate post moved over winter or the hardware worked loose. Both are quick fixes now, and neither improves on its own.
Pay attention to where the latch lands. If it's catching high or low compared to fall, the gate post moved — and a post that moved once this winter will move again next winter unless the footing gets addressed.
4. Check panels, rails, and pickets
Walk the line looking for what winter left behind: cracked or bowed rails where snow was piled, popped pickets, vinyl impact cracks, chain link mesh pulled loose from its framework, anything the plow clipped. Our winter damage rundown covers the usual suspects and their fixes. Tap suspect rails with a knuckle as you go — cracked wood sounds dead, and a hairline crack found now is a rail you replace on your schedule instead of the wind's.
5. Look at the ground line
On wood: the rot check
Press a screwdriver against the wood at and just below grade wherever wood meets soil. Sound wood pushes back; soft, punky wood gives. Catching ground-line rot early is the difference between replacing a board and replacing a section. Pay extra attention anywhere soil, mulch, or a planting bed has crept up the fence over the years — wood that used to clear the ground and doesn't anymore is on borrowed time.
Everywhere: water and gaps
Note where the yard pools along the fence line and anywhere runoff washed soil away from a footing — water that sits against a fence all spring is quietly arranging next winter's frost heave, and sometimes the fix is as cheap as filling a low spot. While you're down there, check the bottom gap: frost movement and washouts can open clearance under a fence that used to be tight, and a dog will find that gap before you do.
6. The hardware pass
Finish with ten seconds per gate: snug the hinge and latch screws, and hit the moving parts with a shot of lubricant. Hardware that worked all winter has earned it.
The five-minute fixes while you're out there
- ✓Pull vines and clear debris off the bottom rail before the growing season locks in.
- ✓Re-seat any post caps winter popped loose — they're what keeps water out of hollow posts.
- ✓Rake mulch and soil back off the bottom of wood boards; buried wood is wet wood.
- ✓Knock winter grime off with the hose as you walk — dirt holds moisture against every surface it touches.
Write it down
Take four photos: each corner of the yard, shot down the fence line. Next April, take the same four. Fences fail slowly enough that memory smooths it over — the photos don't. A dated photo set is also exactly what an insurance claim or a warranty conversation wants to see.
Put the fence walk on the same spring list as gutters and hose bibs. Fifteen minutes in April routinely saves a section replacement in August — and it's the natural moment to judge whether the cedar's finish is due this year.
What's DIY and what's a call
DIY territory: tightening hardware, cleaning, filling small washouts, penciling in a staining weekend. Worth a call: posts that move, gates that adjustment doesn't cure, cracked structural rails, or any section that shifted as a group — that's footing work, and it's what fence repair visits are for. The honest rule: anything that involves the ground is our side of the line; most of what's above it, a homeowner with a screwdriver can handle.
Bottom line
A spring fence checkup is the cheapest maintenance in home ownership: fifteen minutes, no tools beyond a screwdriver and your eyeballs, once a year after the thaw. Small problems found in April stay small. Do it annually and the walk gets faster, too — you'll know your fence the way you know your car, and anything new will stand out immediately.
Find something on the walk you don't like? Send us a photo and we'll tell you honestly whether it needs us or a screwdriver.
Quick answers
What should a spring fence inspection cover?
Six things: sight down the line for leaning posts, push-test each post, swing and latch every gate, check panels and rails for winter damage, inspect the ground line for rot and washouts, and tighten the hardware. It takes about fifteen minutes.
Is it normal for a fence to lean a little after winter?
A slight lean that corrects as the ground finishes thawing can happen, but a post that stays tilted or moves when pushed has heaved or loosened. Watch it for a few weeks — if it doesn't settle back plumb, it needs attention.
When should a fence gate be adjusted?
As soon as it drags, rubs, or stops latching cleanly. A gate that gets forced wears its hinges and loosens its post a little more with every swing, so a small spring adjustment prevents a bigger repair later.